In this series of posts I hope to explain what I consider to be a cheap and elegant solution for your own virtual pentest lab. I’m passionate about information security and recently took the Pentesting with BackTrack (PWB) course and passed the Offensive Security Certified Professional (OSCP) certification through Offensive Security. It is an amazing course and their virtual labs are awesome (I intend to post a review of the course and certification in a later post). After passing the course you definitely find yourself wanting to continue practicing your skills on vulnerable machines.
There are numerous sources for vulnerable virtual machines out there, which are great, but I wanted to mimic a network as best as possible. So I decided to build my own VMWare ESXi server that could host multiple Virtual Machines (VMs) at once. This is part one of a series of posts explaining exactly what I did to set up my own virtual pentest lab at a reasonable cost. I actually built a custom system to support my ESXi server, but if you have an extra system that meets your hardware requirements you can skip the initial steps and move to Step 7 for deploying the ESXi software. This was a fun experience and I hope you enjoy the process of setting up your lab as much as I did.
Part 1 – Building and Deploying Your ESXi Server
Obviously the first and most critical step in building your own pentest lab is the virtual platform on which it will be deployed. I’m a big fan of VMWare and their virtualization products. I don’t have a lot of nerdy reasons for my partiality beyond the fact that I’ve been using VMWare since 2005 and feel that they’ve been doing virtualization a little bit longer than most. (Sidebar: I purposefully waited to purchase a Mac until Apple released their Intel-based machines followed by VMWare releasing Fusion.) I chose ESXi mainly because I’ve had experience with the platform in the past (with my day job), knew that it would support what I wanted to do, and met the major criteria of costing nothing. The remainder of this post identifies the steps I took to build and deploy my ESXi server in preparation for setting up a virtual pentest lab. If you follow these steps, you should be able to succeed as well.
Step 1) Research the Hardware
The hardware for your server is obviously very important, and I chose to build my own, but you can just as easily purchase a pre-built machine that matches your hardware specs. I felt that my three main priorities when building a virtual server were as follows:
- A reliable CPU that is fast and supports virtualization
- Plenty of RAM
- A decent amount of hard disk space
- A durable motherboard and power supply
I didn’t really care about a heavy duty graphics card, since I’m using this more for pentesting practice; however it is something to consider if you want to purchase a high end graphics card that can be used for enhanced password cracking. I left this option open to myself by purchasing a motherboard that should support a good graphics card if I want to add one down the road. These are the basics you’ll need to set up a good virtual server.
NOTE: I did not research the hardware specifications on VMWare’s website first. This should have been my first step as you’ll find out later, so you should definitely review the ESXi hardware compatibility guides to ensure that the items you purchase are officially supported by ESXi. I’ll admit that I did make one mistake during this step, but I finally got everything working. I could have saved myself a little bit of hassle but I am still very pleased with the end result.
Obviously this setup is entirely customizable, or like I mentioned, feel free to purchase a pre-built system as well.
Step 2) Order and Purchase the Parts
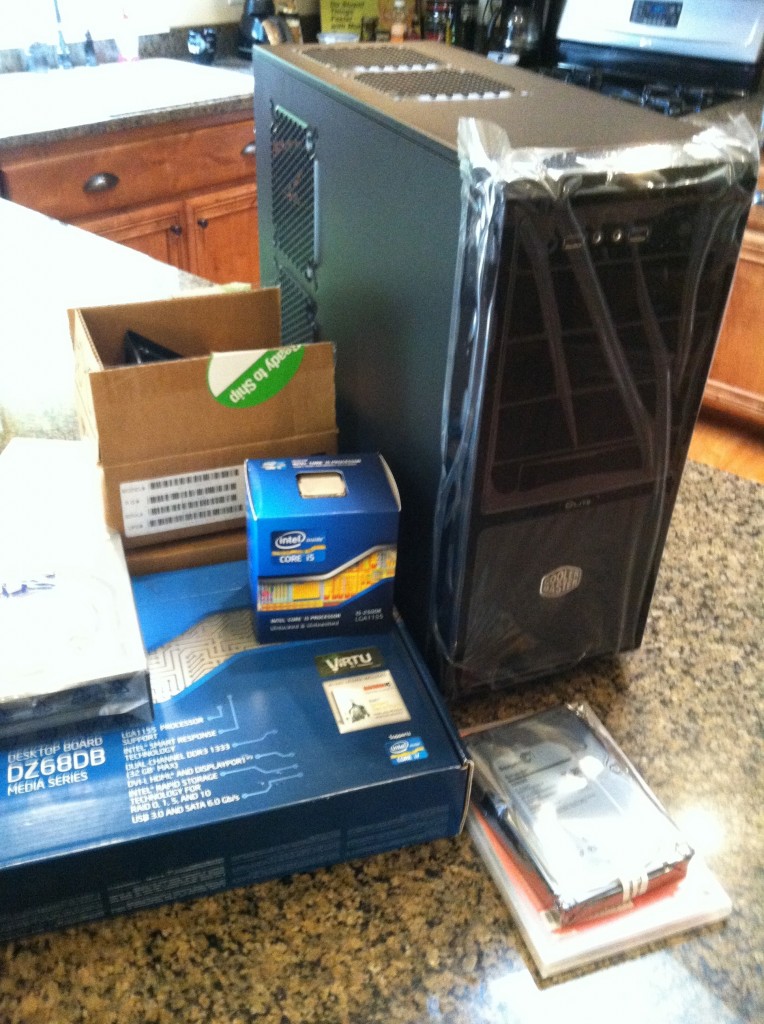
After establishing your hardware requirements, proceed to order and purchase your system. I did some shopping around for parts and decided on the following setup. This is purely a personal decision and not an endorsement of any kind!
| Motherboard | Intel BOXDZ68DB Media Series Socket LGA1155 ATX Motherboard |
| CPU | Intel Core i5-2500K Processor |
| RAM | 16GB kit (4GBx4), Ballistix 240-pin DIMM |
| Hard Drive (2x) | Seagate Barracuda ST1000DM003 1 TB 7200RPM SATA 6 Gb/s 64MB Cache |
| DVD-RW Drive | Asus 24xDVD-RW Serial ATA Internal OEM Drive DRW-24B1ST |
| Tower | Master Elite 370 RC-370-KKR400 400W ATX Mid Tower Case |
Step 3) Assemble the System
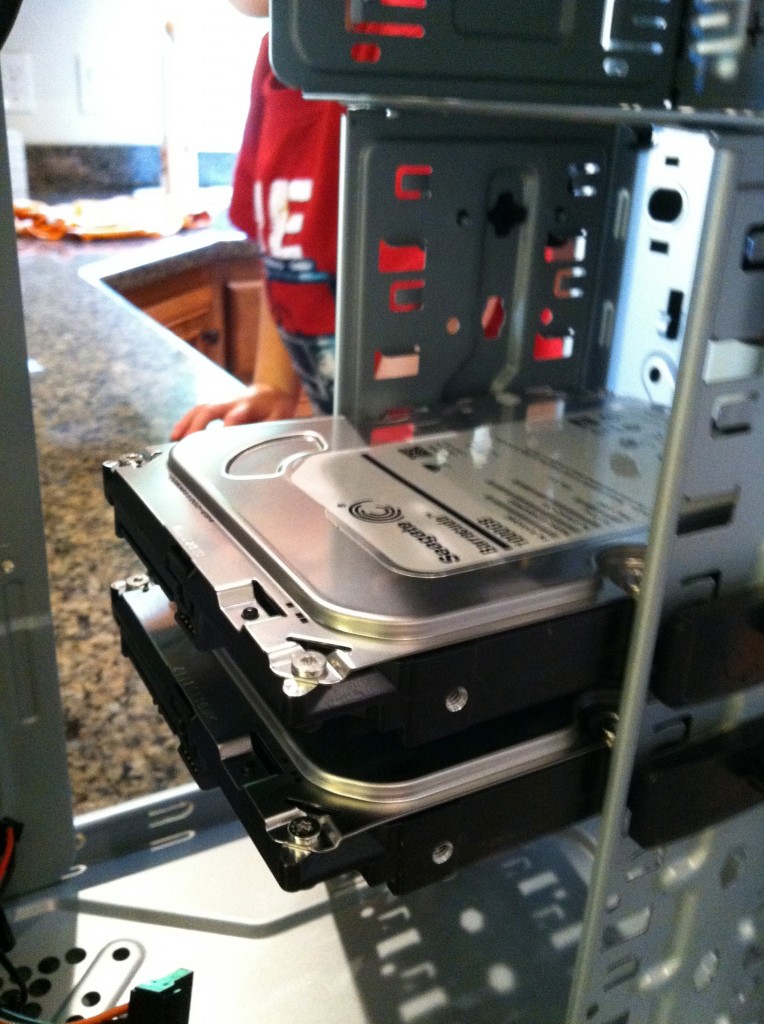
So it’s always fun getting a bunch of new computer parts delivered, but what’s more fun is putting them together. I don’t need to detail this step too much beyond the fact that you should ensure you plug in everything where it’s supposed to be on the motherboard.
Step 4) Register for ESXi downloads
Once you have assembled the system, you’re ready to download and install the ESXi server software. You will need to register an account through VMWare in order to download their products, but this is a small price to pay for the power of their software. When you register you’ll receive a license key. I registered and downloaded the latest version of ESXi, which currently is 5.0. You can find out everything you need to know about ESX here: http://www.vmware.com/products/vsphere/esxi-and-esx/overview.html.
Once you’ve downloaded and burned your ISO file, proceed to boot to your CD and install the server. Keep in mind that ESXi is a base operating system itself, thus you don’t have to install Windows, Linux, or any other OS prior to installing ESX. Additionally, if you have a previous OS installed on your destination hard drive, it will be reformatted, so make sure you have that backed up or have already converted it to a VM.
Step 5) Attempt to Install ESXi 5.0 (minor hiccup…doesn’t recognize network adapter!!!)
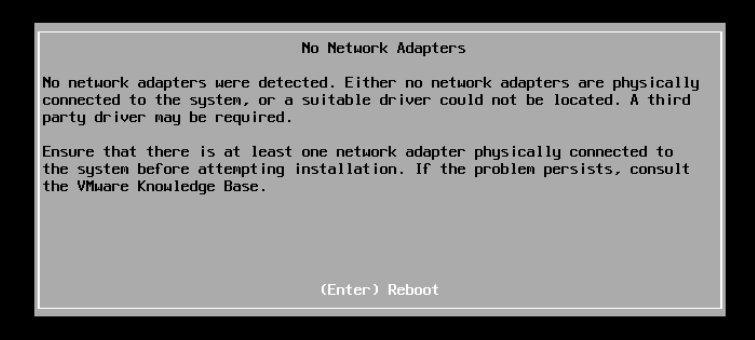
Once you boot to the ISO you’ll either get a message to proceed with the installation or you might get an error like the one below. If you heeded my advice and reviewed the hardware specs for ESXi, you probably purchased a board with compatible network drivers. I however, did not and ran into this issue. If you want to skip this step because ESX recognizes your adapter (or you purchased a separate NIC with compatible drivers), move onto step 7. Otherwise if you received the message below, don’t worry, I did too and Step 6 will help you out. Basically what happened is that the default network drivers for my motherboard are not officially supported by ESXi which is kind of annoying since I have a fairly common chipset. In any event, I quickly began employing my Google fu to determine what to do next.
Step 6) Build Custom ESXi 5 ISO to Support Network Drivers
So if you don’t want to buy an extra NIC that is compatible with ESXi, you will have to build your own custom ISO that includes the network drivers you need. Researching on Google for a while indicated I was not the only person with this problem and eventually I found a handy customizer application to help me out. Using this application I built a custom ESXi 5 ISO that included the appropriate network adapter drivers.
Here is the link to the customizer solution that I followed: http://www.ivobeerens.nl/2011/12/13/vmware-esxi-5-whitebox-nic-support/. To create your custom ISO, first visit the previous link and gather the resources and downloads you need, then proceed with the following steps:
a) Make sure you have everything you need, mainly the customizer, the original ESXi 5 ISO installer, and the driver (leave it in .tgz format).
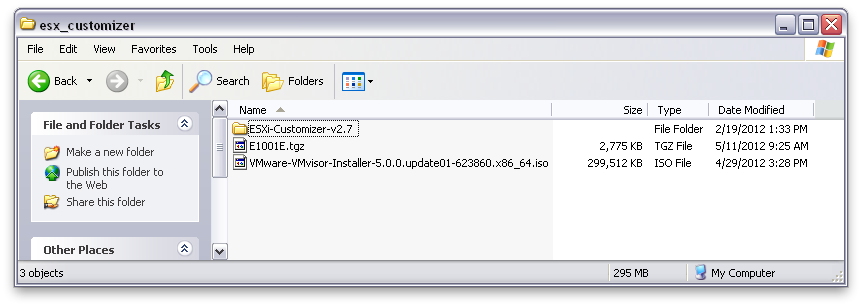
b) Let’s get started with the customizer. It’s a standalone tool thus it won’t muddy up your windows installation by adding registry settings or running through an MSI wizard, etc. I ran it on Windows XP SP3.
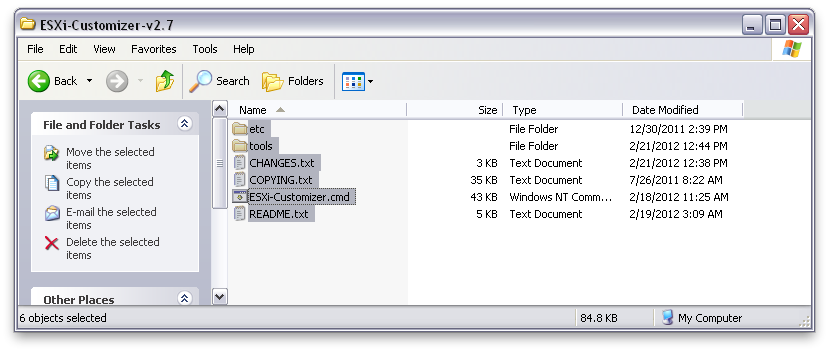
c) Running the batch file ‘ESXi-Customizer.cmd’ presents you with this screen:
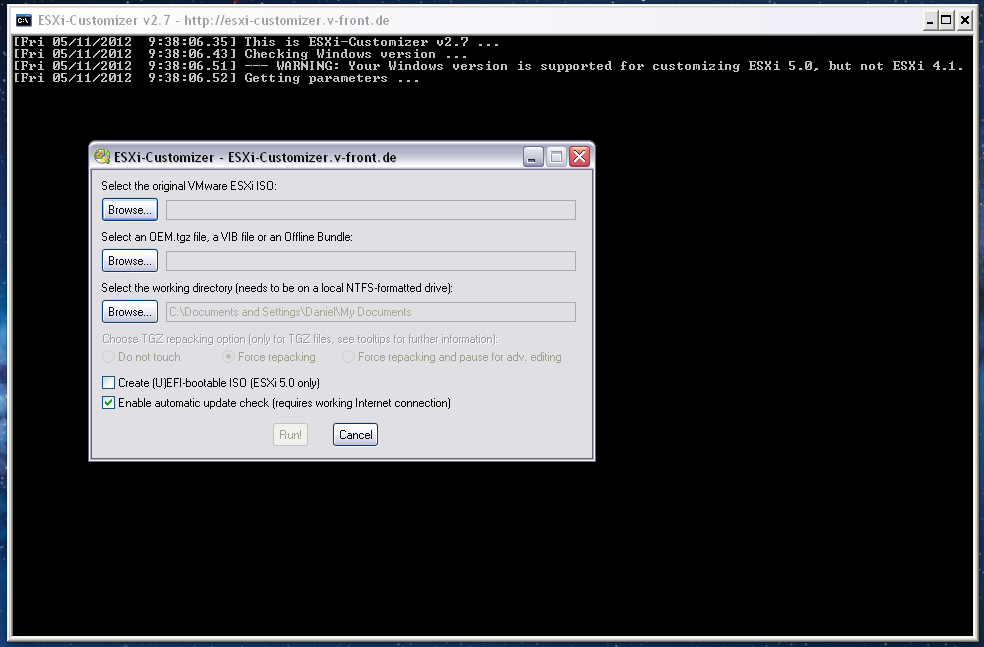
d) Select the appropriate files and leave the default options. You can play around with the other options if you want. There are tool tips and the website has documentation, but for now we just want to get this up and working so we can start hacking!
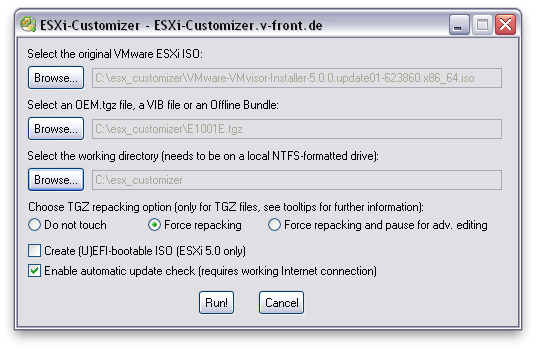
e) Hit run and you will probably be presented with a message about adding a TGZ file being deprecated. This is okay, just hit ‘Yes’ to continue.

f) It may take a few minutes, so be patient. When it’s finished, you have a nice new ISO to burn to disk and continue installing ESXi onto your server.
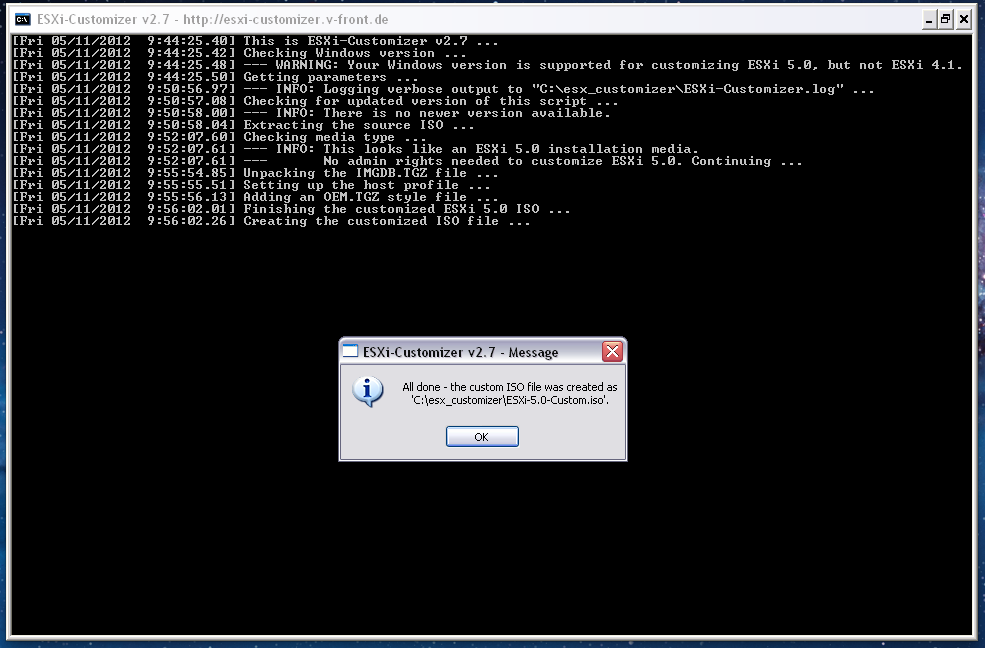
Step 7) ESXi Installation
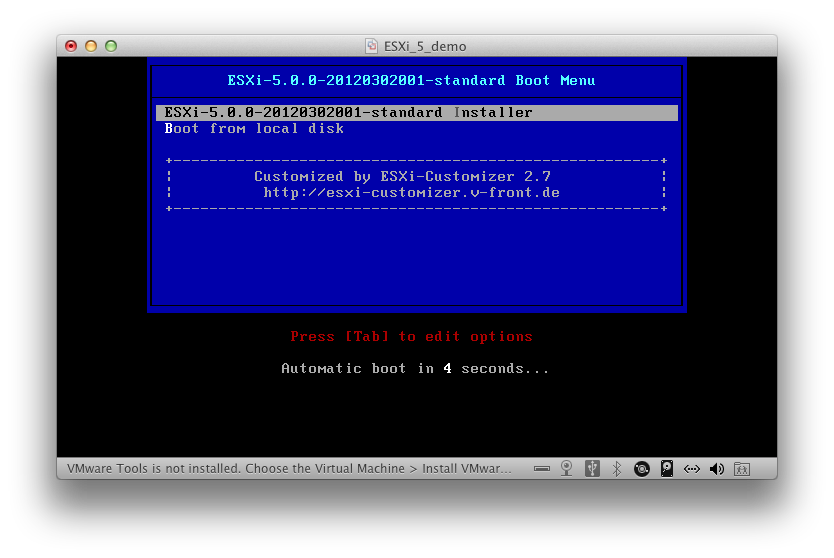
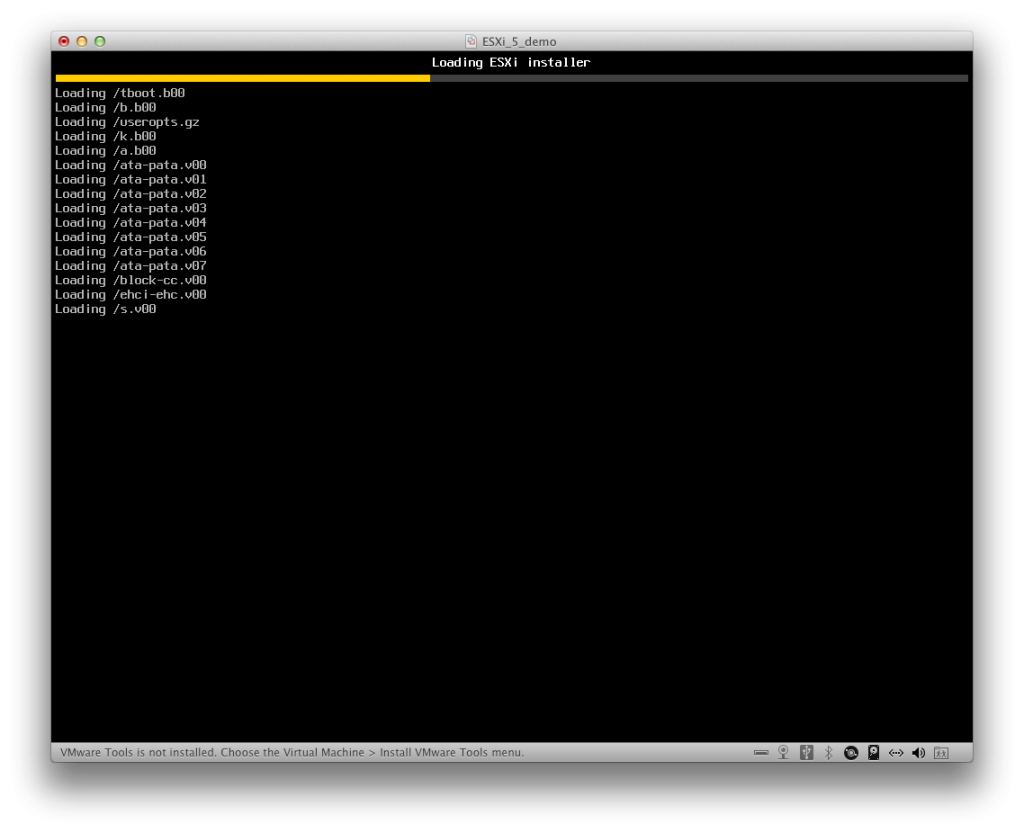
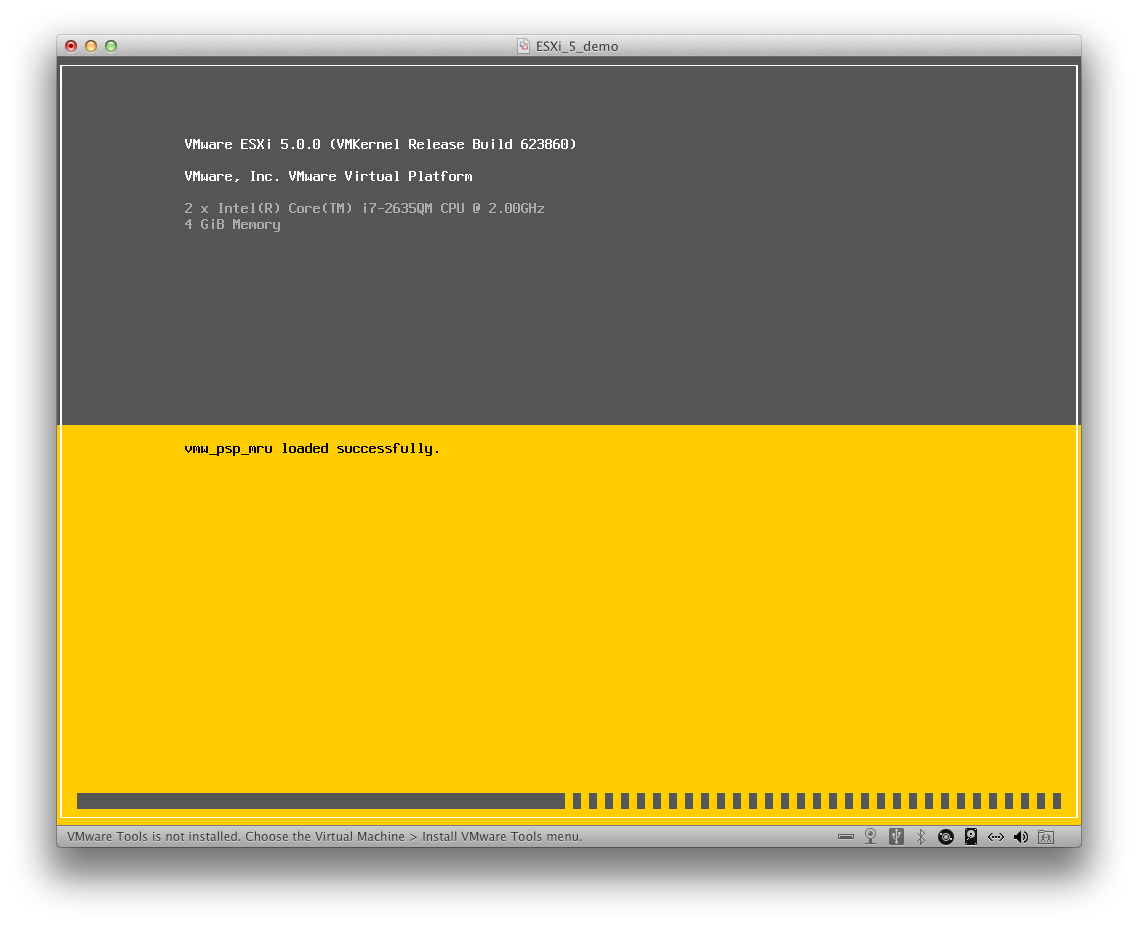
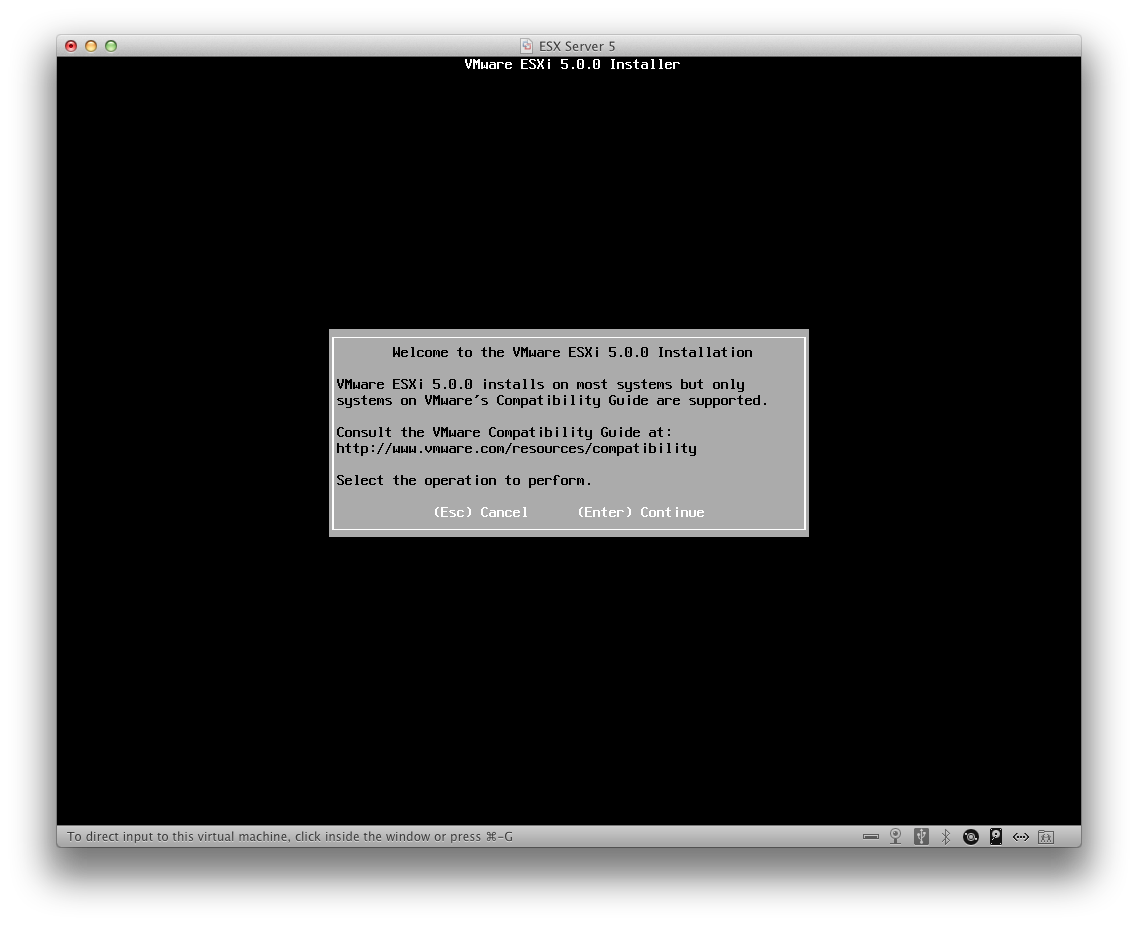
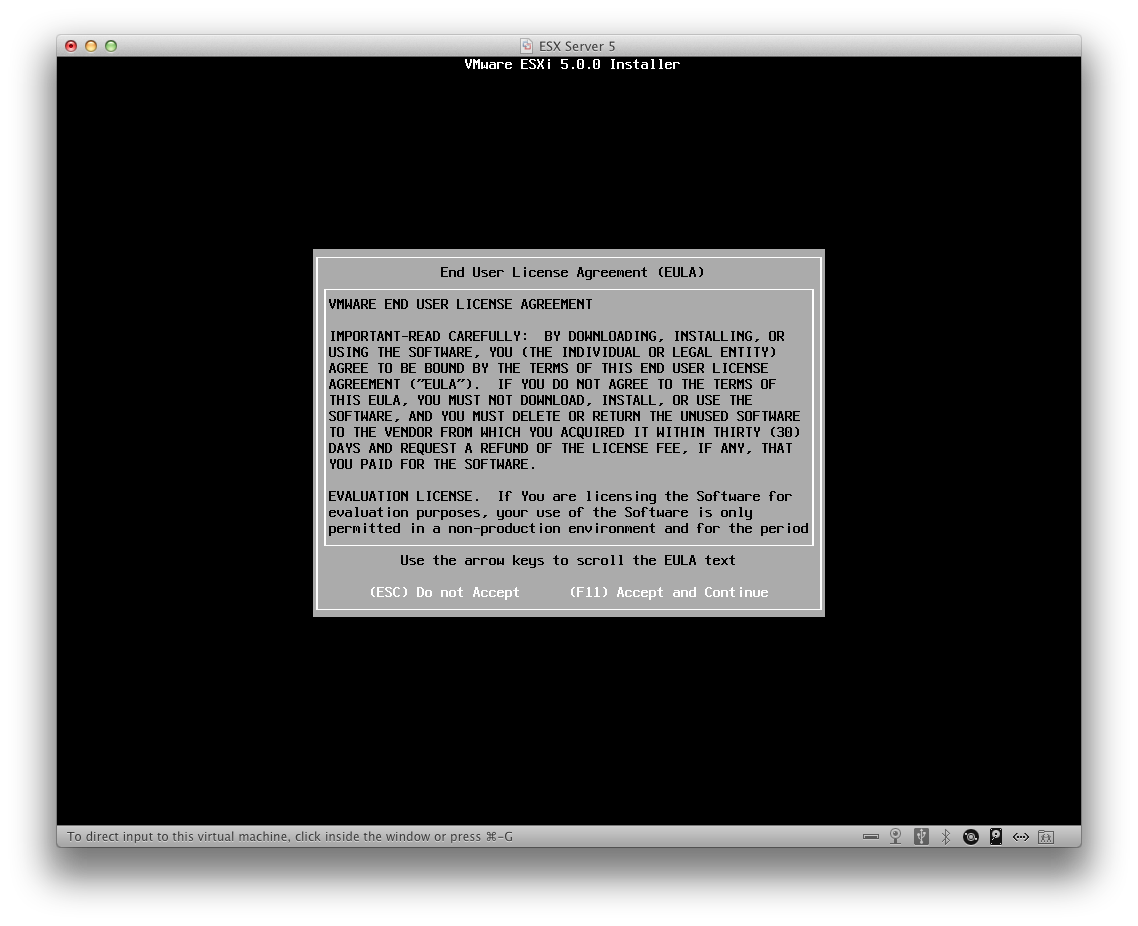
Okay, so that was kind of a chore, but a good learning experience and maybe saved some money for now. Let’s proceed to install ESXi 5 with our new ISO. Go ahead and boot to the disc and proceed with the installation options. It’s pretty straight forward, but here are some screenshots that accompany a successful installation. Note that the following screenshots are demo shots of me creating an ESXi 5 VM from within VMware Fusion. So don’t get confused when the hardware options are different from what I described earlier. These are just meant to show you the screens that will be encountered during the install.
Bootup splash screen:
Loading files:
Hardware recognition:
Launch Installer:
EULA agreement:
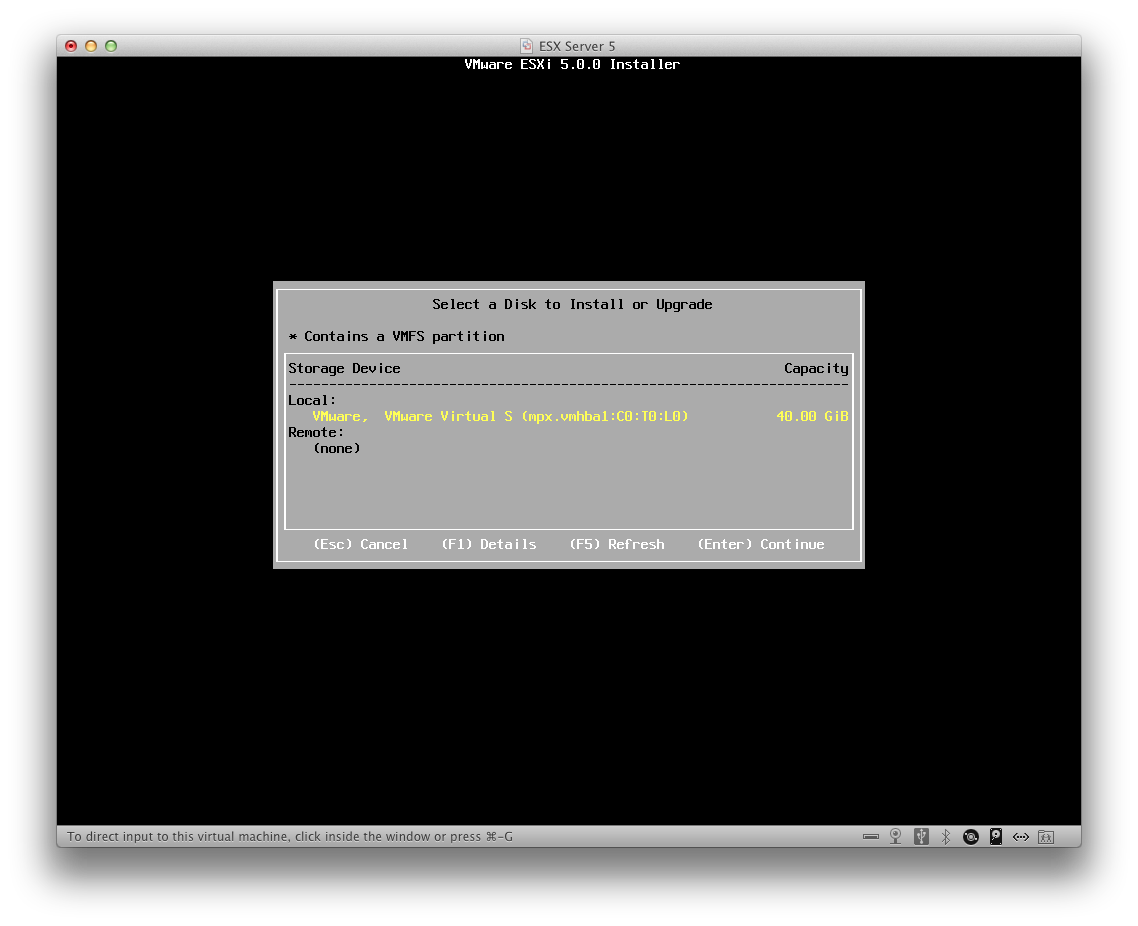
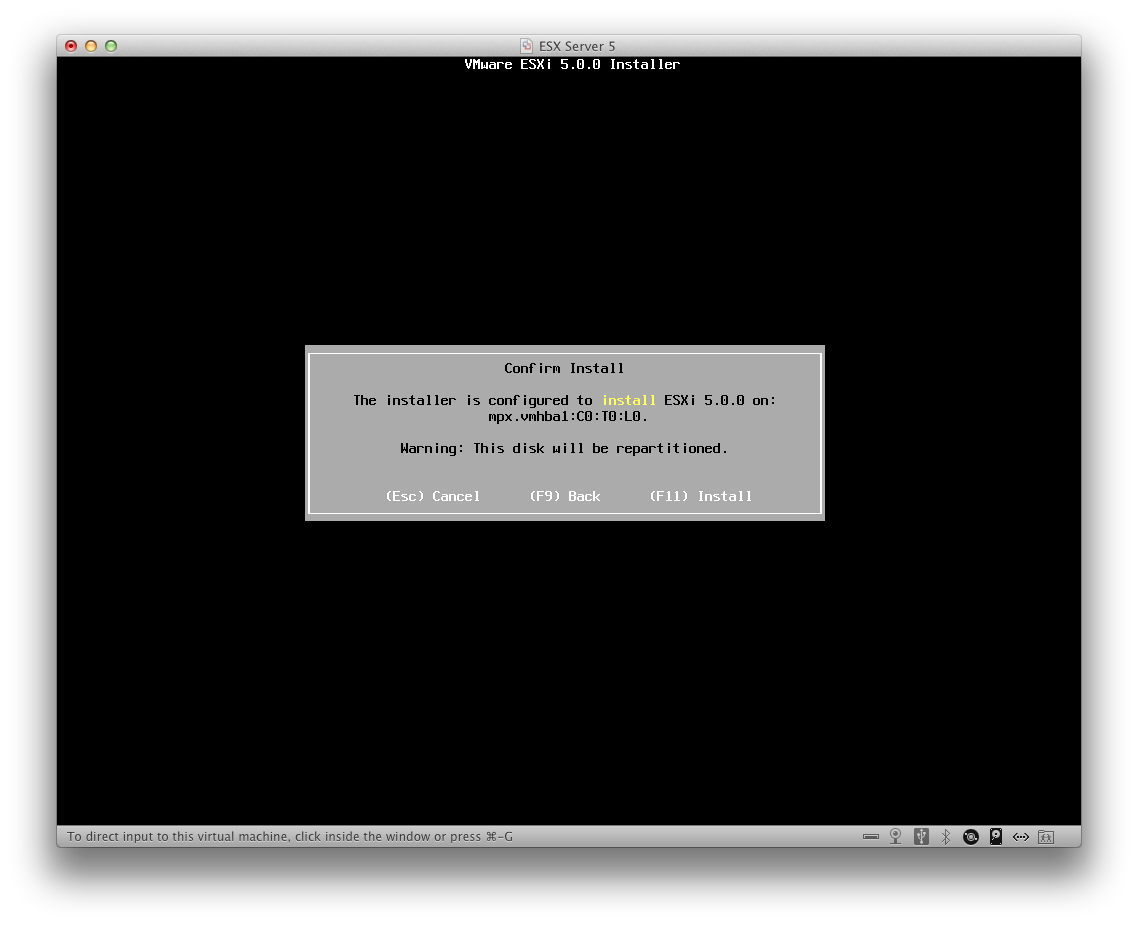
Hard drive selection, you may see more than one physical disk if you have multiple disks installed. Remember that this will re-partition your destination drive.
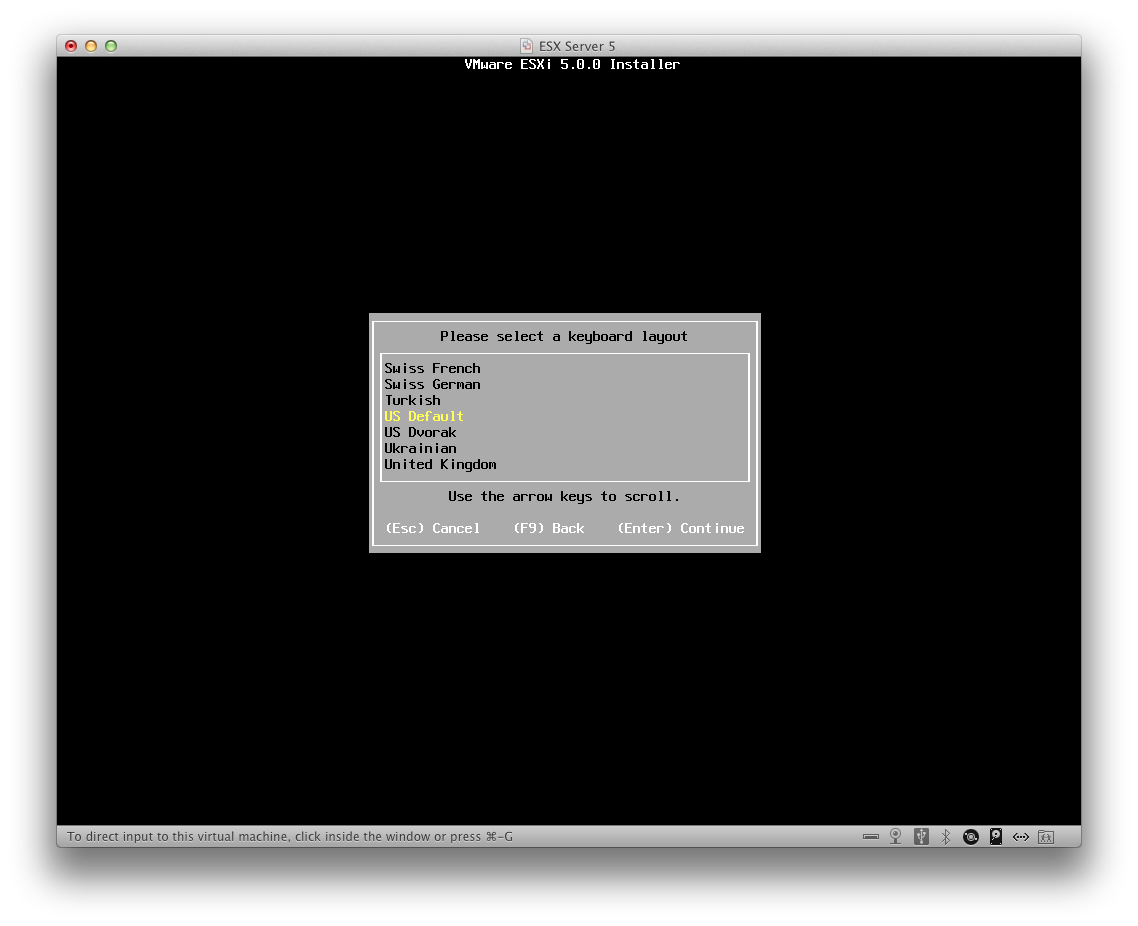
Select your keyboard layout:
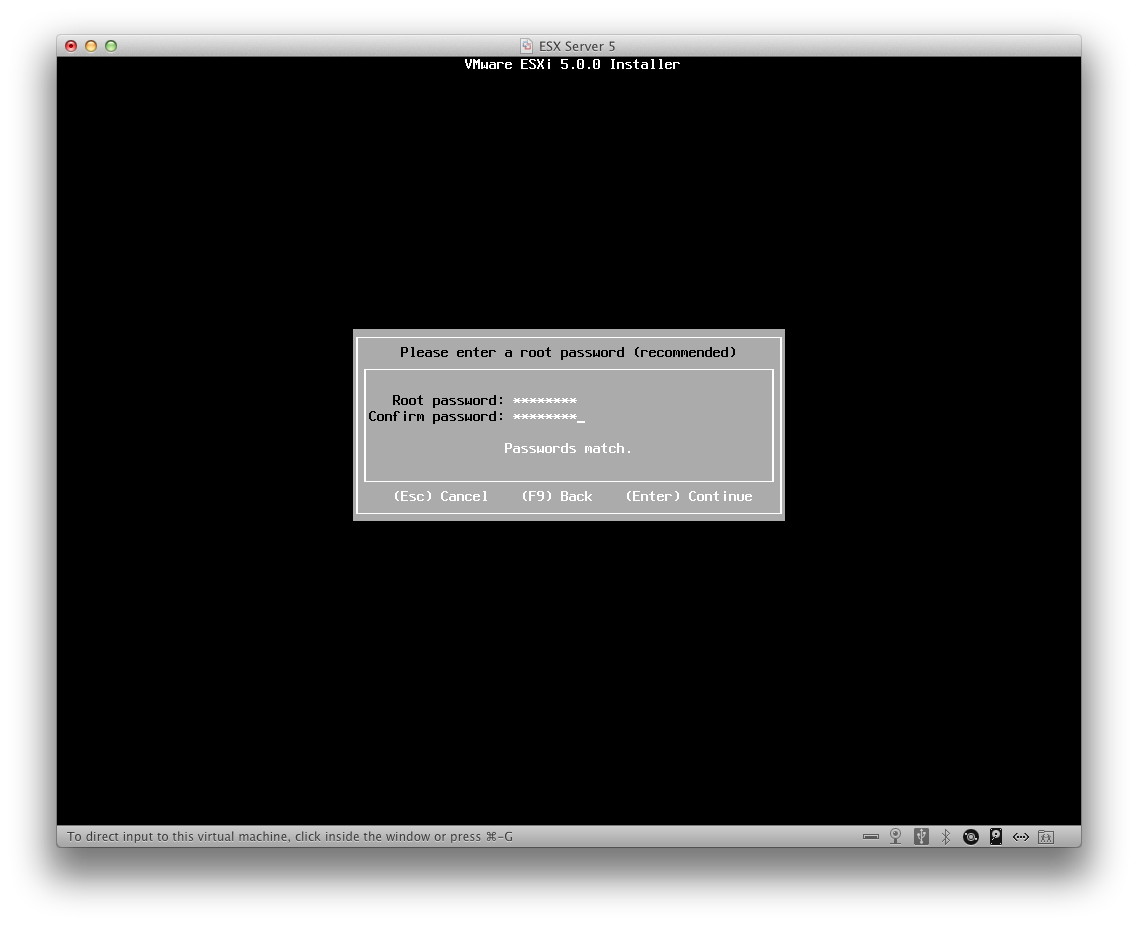
Enter your root password. Don’t forget this! You will need it to access the console and the interface from vSphere.
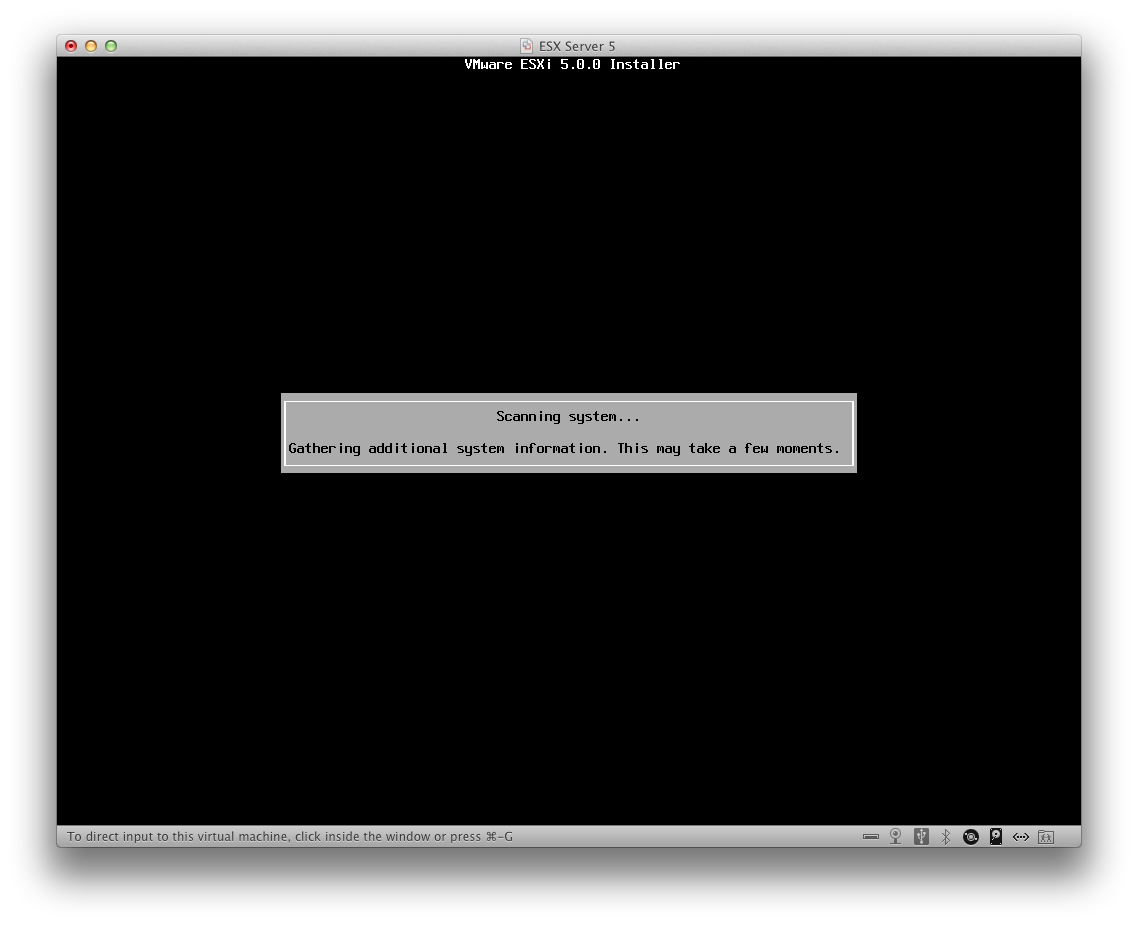
Wait for the install to finish:
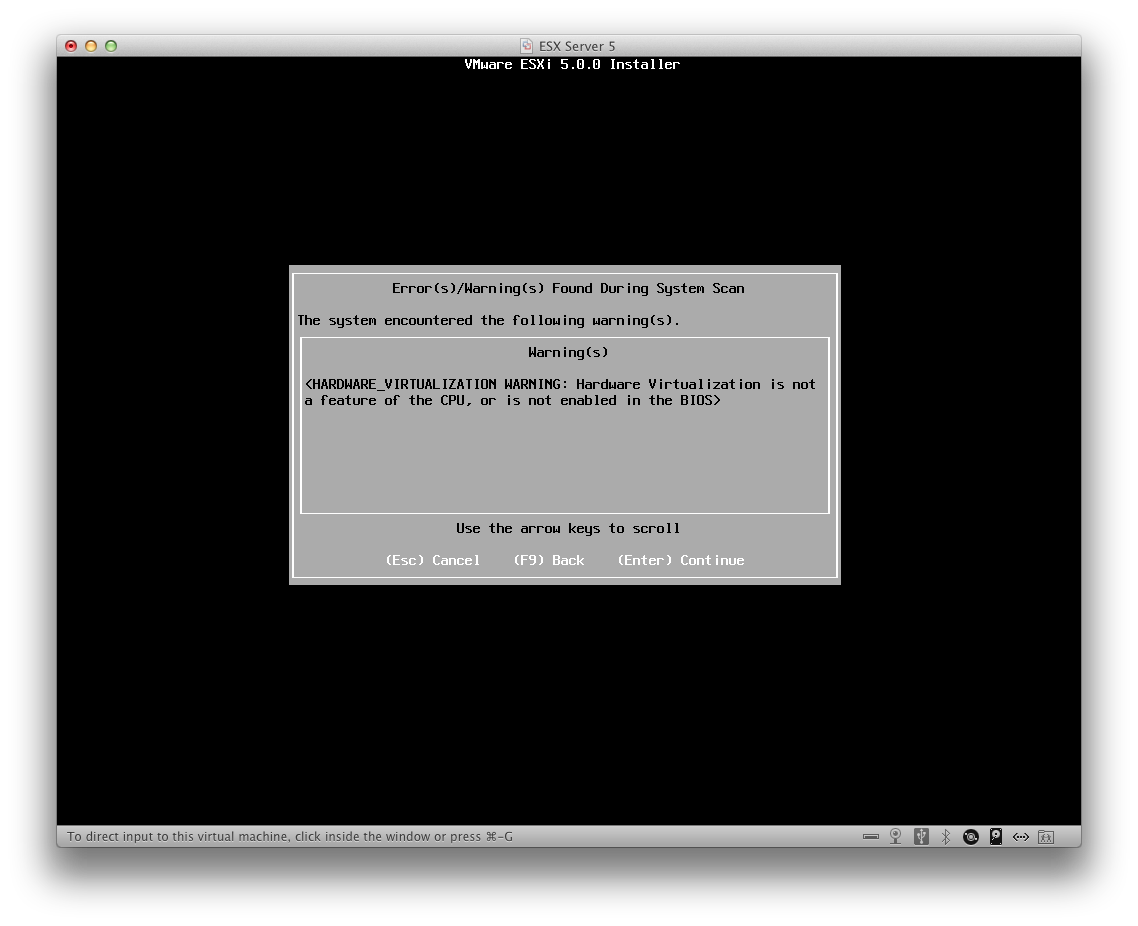
If you see this message, you will need to enable HW Virtualization on your CPU in order to run 64-bit VMs. The Intel i5 had this enabled by default, so I included this shot just as a guide. If supported by your CPU, you can enable HW Virtualization in the BIOS.
Confirm your installation:
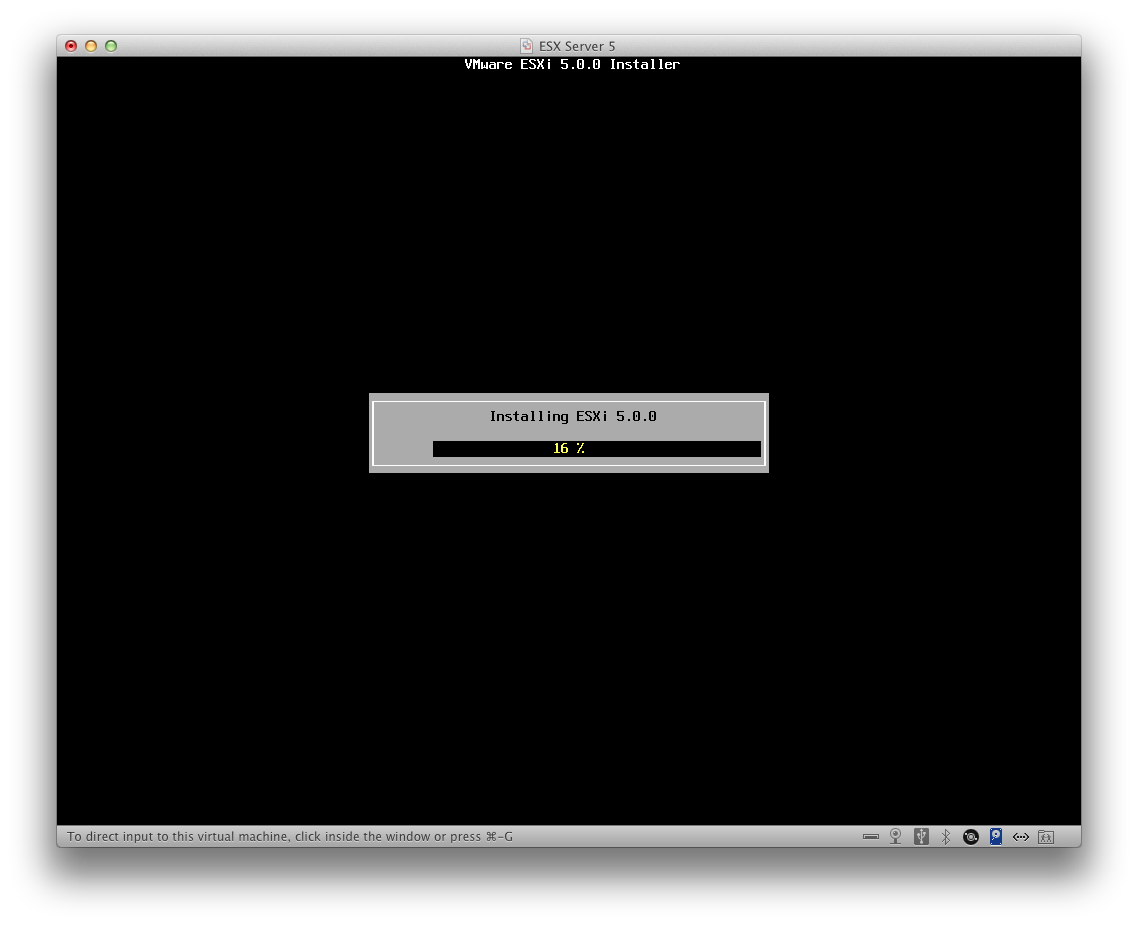
Wait.
And that’s it!!
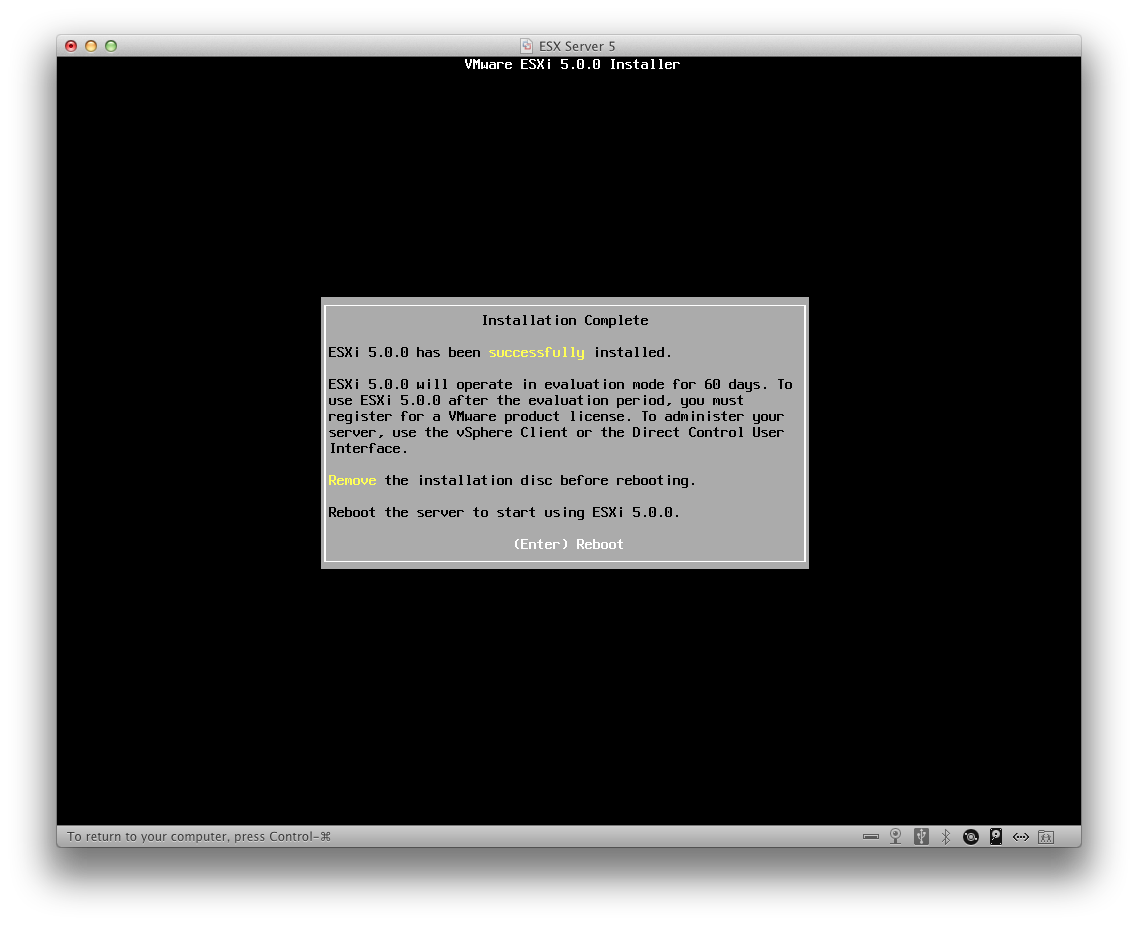
The server is running:
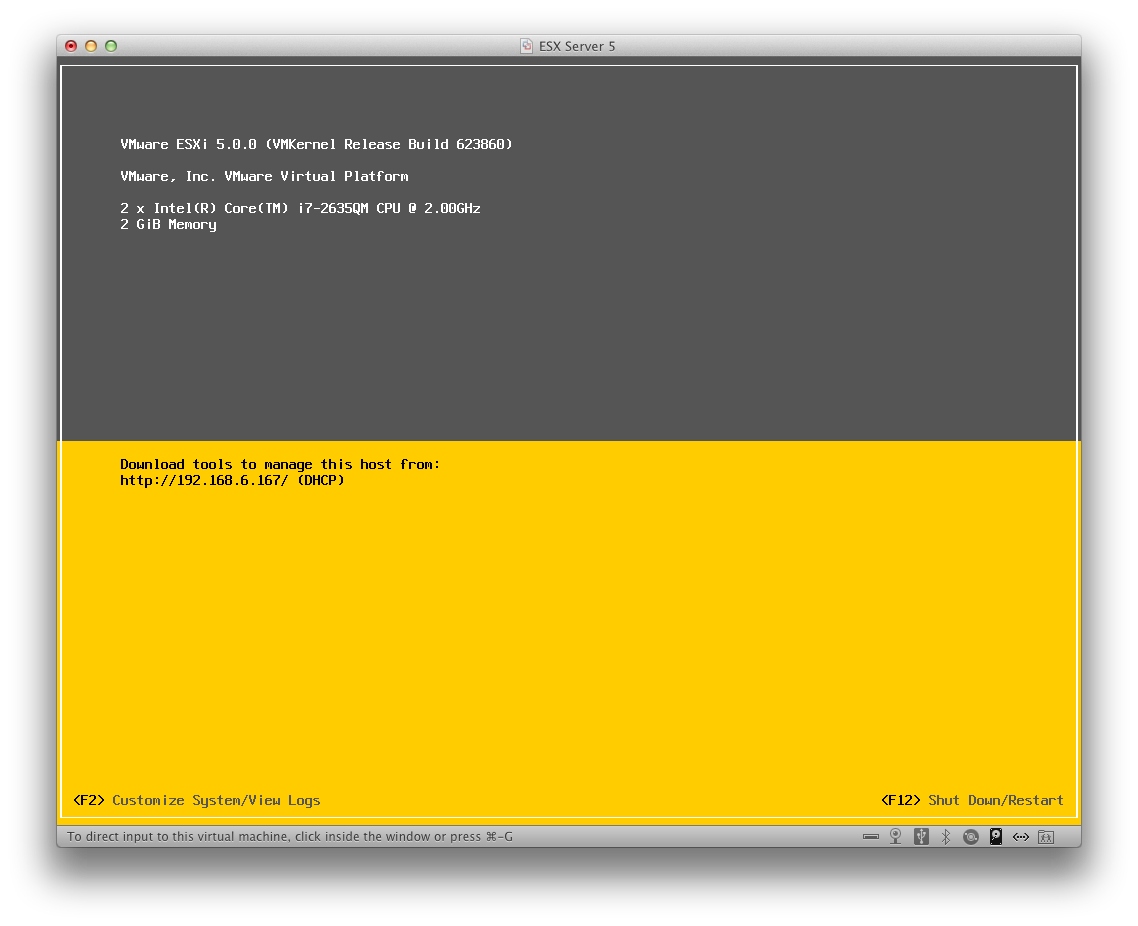
Step 8) Install vSphere on Windows client and connect!
Awesome, we now see that ESXi 5 is installed and running on our server, so now what? Well, now we can have some fun and start loading VMs to build our pentest lab. In order to connect to ESXi and configure your VMs you will need to download the vSphere Client. This is included as part of your available downloads when you register for your ESXi license. The vSphere client has to be installed on a Windows machine, so simply download the installer and run through the wizard quickly. Once installed you fire it up and get a screen like this
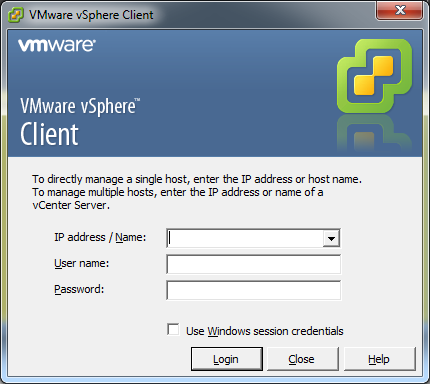
Enter in the IP address of your server with your root login information that you established during the installation. Now you should see something similar to this. It’s a blank canvas right now, but soon we’ll have our own pentest lab to start hacking away at. Stay tuned as I will soon be describing how to convert and upload VMs to your server, and even installing new VMs.
Nuggets to remember:
- Review the HW compatibility guide BEFORE purchasing the HW, especially the network adapters.
- Improve your google fu, as you are probably NOT the first person running into the problem. But if you are, then accept the challenge and teach others what you learn.
- I am still having some issues when physically booting the ESXi server. The boot loader does not automatically detect the GPT on the boot disk. Thus each time I need to reboot the server I have to manually select the drive to which I’m booting (i.e. for my chipset the sequence is hitting F10 at the BIOS splash screen, then selecting P0 for physical disk 0). This is obviously some sort of firmware issue, but once the disk is selected it boots fine and I haven’t had any problems. I’m not sure if my motherboard will support this in the future or not.
Well that was a beast of a post, but it lays the groundwork for the fun that will ensue. Thanks for tuning in, and Part 2 of this series will be coming shortly…

